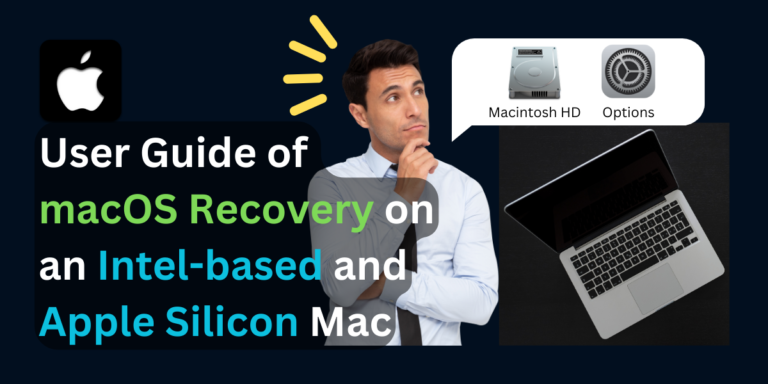
User Guide of macOS Recovery on an Intel-based and Apple Silicon Mac
Are you a Mac user looking to explore the startup options available on your system? Whether you’re troubleshooting an issue, looking to change your startup disk, or attempting to boot into safe mode, accessing startup options is a vital skill for any Mac user. In this comprehensive guide, we’ll walk you through the step-by-step process of accessing startup options on both Intel-based and Apple Silicon Macs. Let’s dive in! MacOS Recovery on an Intel-based and Apple Silicon Mac In the event of system issues or a need to reinstall macOS, having a robust recovery solution is essential for Mac users. macOS Recovery provides a lifeline, offering troubleshooting tools and options to restore your system to a functional state. This guide will walk you through the macOS Recovery process on both Intel-based and Apple Silicon Macs, ensuring you’re equipped to handle any unforeseen software challenges. What is Intel-based and Apple Silicon? Apps available in macOS Recovery When booting into macOS Recovery mode, users gain access to a variety of essential tools and utilities designed to diagnose and resolve system issues. Here are some of the key apps available in macOS Recovery: Start up your Intel-based Mac in macOS Recovery To initiate macOS Recovery on an Intel-based Mac, follow these simple steps: From here, you can select various options such as Disk Utility to manage your disk partitions, reinstall macOS, restore from a Time Machine backup, or access other troubleshooting utilities. Start up your Apple Silicon Mac in macOS Recovery Starting up a Mac with Apple Silicon in macOS Recovery is slightly different due to the new architecture. Here’s how to do it: You’ll then be presented with the macOS Utilities window, offering various tools and options to troubleshoot and manage your Mac. Repair your internal storage device If you encounter issues with your internal storage device, such as disk errors or corrupted files, macOS Recovery provides a built-in tool to repair it using Disk Utility. Here’s how to do it: After repairing your internal storage device, you can restart your Mac and see if the issues have been resolved. If you continue to experience problems, you may need to consider further troubleshooting or seeking assistance from Apple Support. Use Time Machine to restore your files If you have previously set up Time Machine backups, you can easily restore your files and system settings from a Time Machine backup using macOS Recovery. Here’s how: Use Startup Security Utility to set a firmware password (for Intel-based Macs only) A firmware password adds an extra layer of security to your Mac by requiring a password to be entered before the computer can boot from an external drive or access certain system settings. Here’s how to set a firmware password using Startup Security Utility in macOS Recovery: Once set, you’ll need to enter this password whenever you attempt to boot from an external drive or access certain system settings on your Mac. Note: Apple Silicon Macs do not support Firmware passwords anymore. The protection they rely on is a valid user authentication. Use Startup Security Utility to set secure boot options Secure boot options allow you to control the security settings related to booting your Mac, including whether it will boot only from trusted macOS installations. Here’s how to set secure boot options using Startup Security Utility in macOS Recovery: By setting secure boot options, you can ensure that your Mac only boots from trusted macOS installations, helping to protect against unauthorized modifications or tampering with your system. Reinstall macOS If you encounter persistent software issues or want to start fresh with a clean installation of macOS, you can reinstall the operating system using macOS Recovery. Here’s how to reinstall macOS: Reinstalling macOS can resolve many software-related issues and provide a clean slate for your Mac, ensuring optimal performance and stability. Erase and reinstall macOS For a more thorough reset, you can erase your Mac’s internal disk and then reinstall macOS. This process will completely wipe your disk, so be sure to back up any important data before proceeding. Here’s how to erase and reinstall macOS: By erasing and reinstalling macOS, you can completely reset your Mac to its factory settings, resolving any software issues and restoring it to a clean state. Conclusion macOS Recovery is an essential tool for every Mac user, providing a range of utilities and options to troubleshoot and maintain your Mac. Whether you’re repairing disk errors, restoring from a Time Machine backup, reinstalling macOS, or setting up security options, macOS Recovery empowers you to keep your Mac running smoothly and securely. By familiarizing yourself with the features and functions of macOS Recovery, you can confidently tackle any software challenges that come your way, ensuring a seamless and efficient Mac experience.