How to Restore the Classic Context Menu in Windows 11
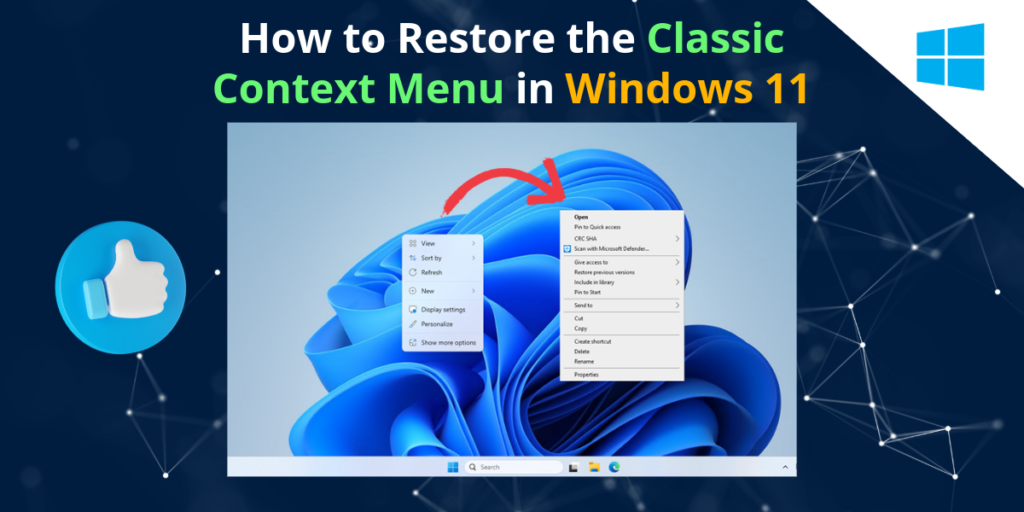
The context menu in Windows 11 has a sleeker and more modern design compared to previous versions. While some users appreciate the change, others find it less functional or slower for certain tasks. If you’re one of those who prefer the old-style context menu from Windows 10 or earlier, this guide will show you how to revert to the classic context menu in Windows 11.
Why Restore the Classic Context Menu?
Before we dive into the steps, it’s worth understanding why many users prefer the classic context menu:
- Familiarity: If you’ve been using Windows for years, you may find the old design more intuitive and faster to navigate.
- Access to More Options: The new context menu in Windows 11 often hides some options under an “extra” menu, requiring an additional click.
- Customization: Certain third-party apps or custom scripts may work better with the older menu layout.
Step-by-Step Guide to Revert to the Classic Context Menu
To get back the old context menu, you’ll need to make a small change to the Windows registry. Don’t worry if this sounds complicated – follow the steps below carefully, and you’ll be back to the classic layout in no time.
Step 1: Open the Registry Editor
- Press Windows Key + R to open the Run dialog box.
- Type
regeditand hit Enter. - If prompted by the User Account Control, click Yes to allow the Registry Editor to make changes to your device.
Step 2: Navigate to the Correct Registry Path
Once the Registry Editor is open, you need to navigate to a specific path:
- In the left-hand pane, go to the following key:
HKEY_CURRENT_USER\SOFTWARE\CLASSES\CLSID\
Step 3: Add a New Registry Key
- Right-click the CLSID folder and select New > Key.
- Name the new key:
{86ca1aa0-34aa-4e8b-a509-50c905bae2a2}
Step 4: Create a New Subkey
- Right-click the newly created key and choose New > Key.
- Name the subkey: InprocServer32.
Step 5: Modify the New Subkey
- Once inside the InprocServer32 key, double-click the default (Default) entry in the right pane.
- Without changing anything, click OK. This step effectively “activates” the key without needing any new data input.
Step 6: Restart Your Computer
After modifying the registry, you’ll need to restart your computer for the changes to take effect. Once your computer reboots, you should now see the classic context menu when you right-click on your desktop or inside File Explorer.
How to Revert Back to the Windows 11 Context Menu
If you ever want to go back to the new context menu, simply reverse the changes:
- Open the Registry Editor again.
- Navigate to:
HKEY_CURRENT_USER\SOFTWARE\CLASSES\CLSID\ - Right-click the key
{86ca1aa0-34aa-4e8b-a509-50c905bae2a2}and select Delete. - Restart your computer.
Alternative: Using a Third-Party Tool
If editing the registry isn’t something you’re comfortable with, there are several third-party tools available that can automate the process for you. Tools like Winaero Tweaker allow you to customize the appearance and behavior of Windows 11, including restoring the classic context menu with just a few clicks.
Final Thoughts
The updated context menu in Windows 11 may look cleaner, but for those who prioritize functionality and speed, the classic menu can be a better fit. By following the simple steps above, you can quickly revert to the old-style menu and enjoy a more familiar Windows experience.
Remember to always back up your registry before making any changes, and if you’re unsure about any steps, consider using third-party tools to simplify the process.


