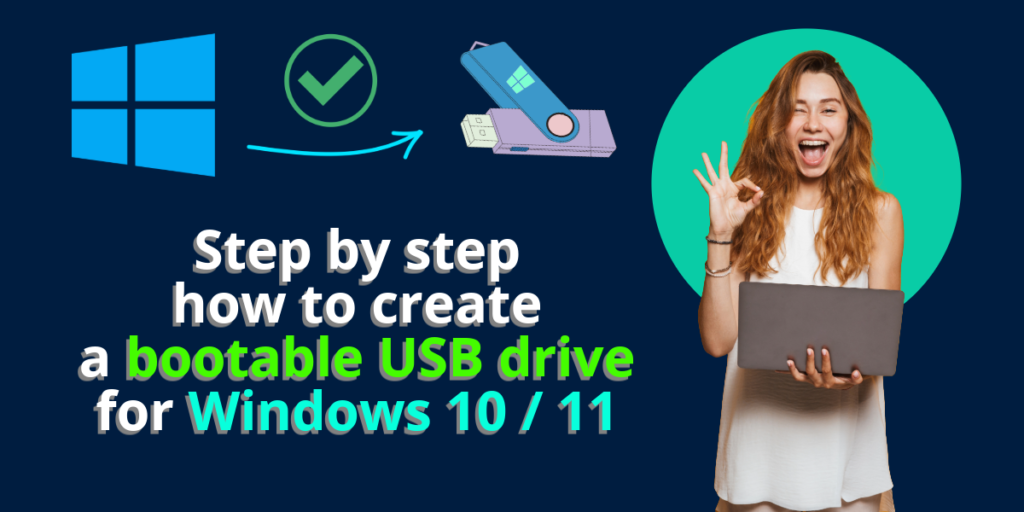
How create a bootable USB drive for Windows 10 / 11
In the realm of tech troubleshooting and installations, having a bootable USB drive for Windows 10/11 is akin to having a Swiss army knife in your digital toolkit. It’s a lifesaver for situations like system repairs, installations, or upgrades. Let’s dive into the ins and outs of creating one.
What is a Windows Bootable USB Drive or Windows Installation Media?
A Windows Bootable USB Drive, also known as Windows Installation Media, is a portable storage device that contains the necessary files and setup to boot a computer directly into the Windows operating system. It essentially serves as an alternative to booting from the computer’s internal hard drive. This USB drive holds an exact copy of the Windows installation files and can be used for various purposes such as installing or repairing Windows, upgrading the operating system, or troubleshooting system issues.
In essence, a Windows bootable USB drive allows users to initiate the Windows setup process without relying on the computer’s internal storage. This flexibility is particularly useful in situations where the internal storage is inaccessible due to corruption or malfunction, or when performing clean installations on multiple computers without the need for optical media like DVDs.
When/Why Do You Need to Use a Windows Bootable USB Drive?
- Installing a fresh copy of Windows 10/11.
- Repairing a corrupted system.
- Fix a Windows startup issue.
- Access System Restore
- Access Command Prompt
- Upgrading your operating system.
- Installing Windows on multiple computers without the need for a DVD.
Prerequisites Before Creating a Bootable USB Drive for Windows 10/11:
Before diving into the creation process, ensure you have the following:
- A USB flash drive with sufficient storage capacity (at least 16GB).
- A working computer with internet access.
- Either the Microsoft Media Creation Tool or RUFUS software downloaded on your computer.
How to Create a Bootable USB Drive for Windows 10/11:
Using Microsoft Media Creation Tool (Step by Step):
- Download and run the Microsoft Media Creation Tool from the official Microsoft website.
- Accept the license terms and select “Create installation media for another PC.”
- Choose the language, edition, and architecture for Windows 10/11.
- Select “USB flash drive” as the media type and insert your USB drive.
- Follow the on-screen instructions to complete the process.
- Once done, safely eject the USB drive.
Using RUFUS (Step by Step):
Note: Before proceeding with this step, you need to download the Windows 10/11 .iso file and to do so, you can use the Window Media Creation Tool.
- Download and run RUFUS from the official website.
- Insert your USB drive and select it from the device dropdown menu.
- Click on the “Select” button and choose the Windows 10/11 ISO file.
- Leave the partition scheme and file system as default.
- Click “Start” and wait for the process to complete.
- Once done, safely eject the USB drive.
Conclusion:
Creating a bootable USB drive (Windows Installation Media) for Windows 10/11 is a straightforward process that can come in handy in various scenarios, from system repairs to fresh installations. Whether you opt for the user-friendly Microsoft Media Creation Tool or the robust RUFUS software, having a bootable USB drive ensures you’re prepared for any Windows-related emergencies.


